

FACE SHIELD - VERSION A

Design Overview
Efficient face shield design that can be produced quickly. Does not require an additional elastic cord to secure to a persons head. The National Institute of Health (NIH) has reviewed and approved this design in a clinical setting, visit their design review for more info.
DESIGN: 3DVerkstan
FABRICATION TIME: 45 minutes
COST OF MATERIALS: $2
ADOPTERS: MatterHackers, Columbia University Medical Center, New York-Presbyterian Hospital
DESIGN
The source of this design comes from 3DVerkstan, a Swedish-based 3D printing company, who put this design together and shared it with the world to help with the production of PPE for healthcare workers. Read the full article about their design and fabrication process. The design consists of two parts, a 3D Printed Headband and a Laser Cut Visor, which snap together to make the final assembly.


EQUIPMENT
3D PRINTER: Original Prusa i3 MK3S
LASER CUTTER: Universal VLS3.50 (50 watt)
HAND TOOLS: Scissors, Ruler, and Masking Tape
DISINFECTING: Isopropyl Alcohol (99%)

3D PRINTING HEADBANDS
Because the 3D printing is the slowest part of the production process, you should do this step first. If you have never worked with PETG filament before, read MatterHacker’s Guide to PETG before proceeding. Otherwise, the one file that you will need can be downloaded using the button below.
Step One: Download the 3D Model
You will need to download the 3D model, an STL file, and import the file into whatever slicing software you use with your 3D printer. Click on the button to download the file.

Step Two: Slice the 3D Model for 3D Printer
To begin 3D printing the headband parts, you will need to slice the 3D model for the specific 3D printer you will be using. This guide will be providing specific instructions for the Prusa MK3S machine using PrusaSlicer software, but the steps are similar to other machines and slicing software. If your machine’s slicing software has a PETG preset than use that, otherwise use the following settings when printing the headbands:
LAYER HEIGHT: 0.3mm
EXTRUDER TEMPATURE: 260° (first layer) | 245° (other layers)
BED TEMPATURE: 85° (first layer) | 90° (other layers)
INFILL: 20%

Step Three: Print the 3D Model
If you are using a Prusa MK3S and use these settings, your print time should be around 45 minutes per headband. If you have a big enough build plate, you should be able to print two headbands at once (shown in the photo). Working with PETG should be just as easy as PLA, though it may require you to make some minor adjustments to prevent the parts from sticking to the build plate too strongly.
LASER CUTTING VISORS
This design actually allows you to use stock 8.5” x 11” plastic film, if you already have that on hand. Otherwise, the preferred material is clear polyester film (.007” thickness). We purchased a 100’ x 48” roll of the material for approximately $275 to use for making the visors. This guide will assume you intend to laser cut your material, there are other guides on using a three-hole punch tool to do this manually.

Step One: Cut the Material to the Size of Your Machine
We have a 24” x 12” cutting area on our machine, and the design template we prepared for our machine is approximately 22” x 9”, so we cut 24” x 10” to ensure there was enough room for the pattern to cut out.
For a 100’ x 48” roll, we are able to cut out 120 — 24” x 10” sheets for our laser cutter. The graphic on the right shows how we cut down the roll. First, you cut 10” strips off the roll (10” x 48”) and then you cut those strips in half to produce the final sheet for the laser cutter.
Step Two: Download Laser Cutter Files
You will need to download the face shield cut template for the laser cutter and import this into the software program you use to queue up files for your machine. In our case, we use Adobe Illustrator to send files to Universal’s control software for the machine. The file provided below includes three common file formats for laser cutter design programs: 1) SVG, 2) PDF, and 3) AI. Click on the button to download the file.


Step Three: Laser Cut the Visors
Laser settings are dependent on the machine you are working with. Our machine is a Universal VLS 3.50, which has a 50-watt tube. We use the following settings to cut through the material, without burning it:
POWER: 75%
SPEED: 100%
If you are working with a different wattage tube or a slightly thicker/thinner material, than you may have to adjust your settings to optimize performance. In general, you will want to try and maximize the speed of the cut.
DISINFECTING PARTS
In order to prevent transmission of the virus, we take all necessary steps and precautions to ensure that the face shield parts we deliver are virus-free. To clean and disinfect the parts, we spray and wipe down all parts with Isopropyl Alcohol (IPA). We use a high-grade, 99% IPA that will clean all of the parts efficiently. A spray bottle makes applying IPA to the parts easier.


ASSEMBLING FACE SHIELD
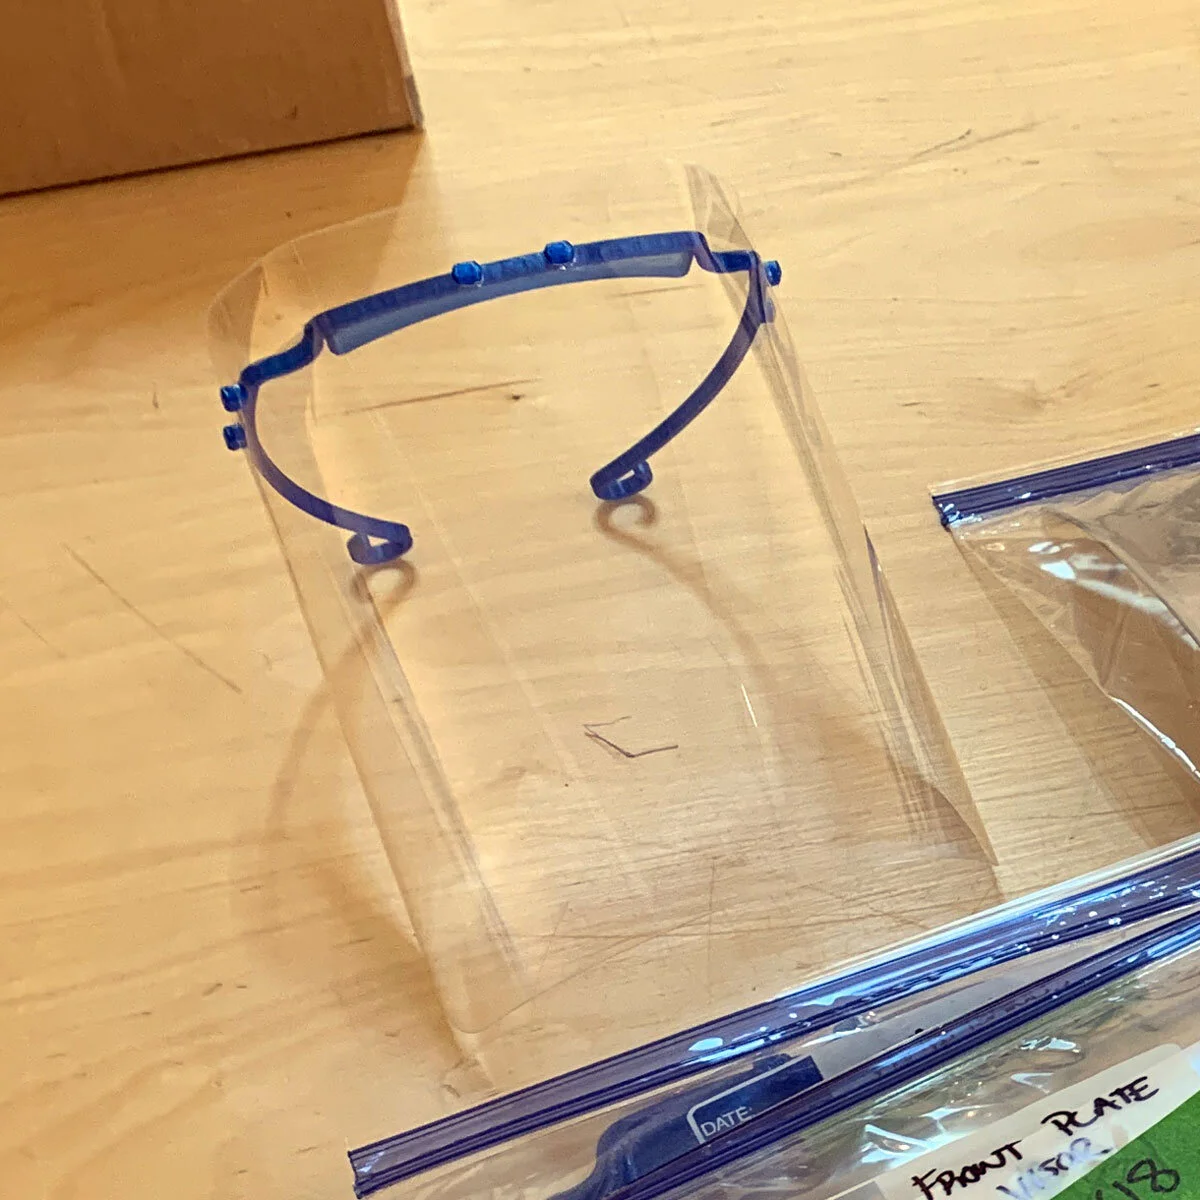
These shields flat pack easily, and so are probably best assembled as needed by intended user. Assembling the face should take only 15-30 seconds, but may take longer if it is your first time. There are six holes on the visor that fit securely into the six notches on the headband. You will need to apply a bit of pressure to make sure the visor attaches to the headband.
Watch the video for a quick demonstration of someone attaching the visor to the headband.